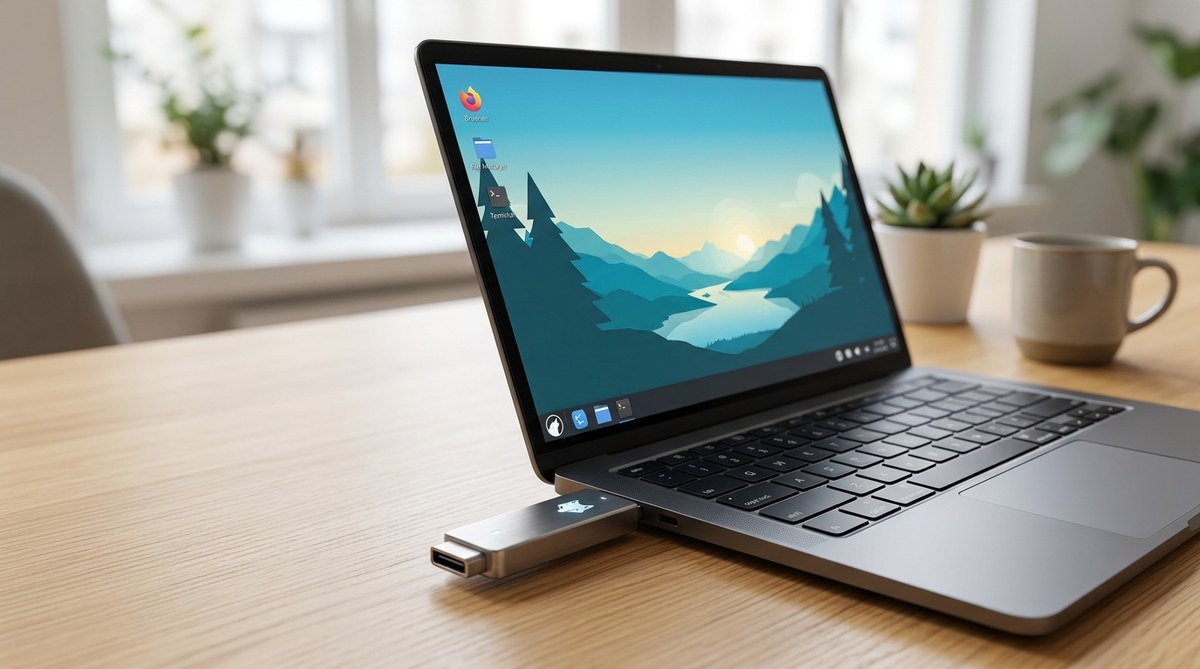
How to Use Amarok Linux as a Portable Operating System
Imagine carrying your entire workbench with you in a single USB drive. On a busy day you can plug into any computer, boot into Amarok Linux, and have your familiar desktop, tools, and privacy ready to go. That is the beauty of a portable operating system and Amarok Linux makes it approachable for everyday use. At AmarokLinux.org we love helping users simplify their experience and amplify their potential with practical tips and reliable how tos. In this guide we walk through turning Amarok Linux into a portable operating system you can rely on across different devices, from laptops to Raspberry Pi boards.
Why a Portable Amarok Linux Makes Sense
- Mobility and privacy on the go
- Quick testing and benchmarking on multiple machines
- A consistent dev or learning environment without altering host systems
- A rescue toolkit for troubleshooting, data recovery, and system repair
- A handy platform for classrooms and workshops where hardware vary
A portable Amarok Linux setup lets you keep your settings, applications, and data together on a single drive. You can boot it on most PCs with a USB port and a compatible BIOS or UEFI. This approach aligns well with the AmarokLinux.org mission to simplify your experience while amplifying your potential.
Quick Overview: What Does Portable Mean in Linux
Portable Linux means a system that can boot from removable media like a USB stick or SD card and preserve user data and system state across sessions. There are two common flavors:
- Live USB with persistence: A live environment that runs from the USB but stores user data in a dedicated persistence file or partition.
- Frugal or full USB install: A more contained approach where the system is installed to the USB drive itself, behaving like a regular installed OS but portable.
Both options are legitimate for Amarok Linux. Your choice depends on how much data you want to preserve, how you plan to update the system, and how portable you need the setup to be between machines.
Key terms to know
– Persistence: A layer that records changes, files, and installed apps across reboots.
– Encryption: Protecting your data on the portable drive so that a lost USB cannot be read easily.
– Boot mode: BIOS or UEFI; some devices require legacy boot for certain USB setups.
– Imaging vs writing: Some tools create a bootable image, others write to a drive directly.
Choosing Your Portable Medium
When selecting a medium for Amarok Linux portability, consider capacity, speed, and durability. Here is a practical checklist.
- USB flash drive vs external SSD: For best performance use a USB 3.0 or 3.1 drive, or an external SSD with a fast enclosure. Larger drives provide more room for data, apps, and persistence.
- Capacity guidance: A comfortable starting point for a fully featured portable Amarok Linux is 32 GB or larger. If you plan to store media, large datasets, or video projects, aim for 64 GB or more.
- Drive health and wear leveling: Modern USB drives and SSDs handle wear leveling well, but keep backups. Portable OS usage can result in many small writes, so choose a reliable brand with good endurance rating.
- Compatibility: Some older machines might have trouble booting from certain USB ports or USB hubs. If you can test, try both a front port and a rear port on laptops, and avoid hubs during the initial boot.
If you are planning to use Amarok Linux on multiple devices or in a teaching environment, a high quality external SSD with a robust USB 3 interface is worth the extra cost for the longevity and speed.
Preparation: Tools You Might Use
To create a portable Amarok Linux system, you will typically need:
- The Amarok Linux ISO image: Obtain the latest stable release from amaroklinux.org.
- A computer with a USB port to prepare the portable drive.
- A USB creation tool. Popular options include:
- Balena Etcher: Simple cross platform USB/DVD maker.
- Rufus: Highly configurable for persistent storage on Windows.
- Ventoy: Multiboot capable, letting you boot multiple ISOs from a single USB.
- dd or Disk Utility: Native disk writing tools on Linux and macOS.
Optional but useful:
– A USB drive with a separate encrypted partition for sensitive data.
– A small spare drive or microSD card if you want a secondary portable OS environment.
Pro tip: If you plan to share the portable drive across machines that may have different hardware, Ventoy is a strong choice because it can handle multiple ISO images on one USB and presents a clean boot menu.
Step by Step: Create a Portable Amarok Linux USB
Here is a practical, commonly used workflow. We split into two main approaches so you can pick what fits your needs.
Approach A: Live USB with Persistence
- Download the Amarok Linux ISO from amaroklinux.org.
- Choose a drive with ample space and no important data, then use a tool to create the bootable USB with persistence:
- In Rufus, choose your Amarok ISO, select the persistence option, and allocate a reasonable amount of space for persistence (e.g., 6–20 GB depending on needs).
- In Balena Etcher or Ventoy, you typically flash the ISO and then create a separate persistence partition if the tool supports it.
- Boot from the USB drive on a target machine. You may need to press a boot menu key (often F12 or Esc) during startup.
- On first boot, Amarok Linux will present a setup wizard. Complete locale, keyboard, network, and user creation steps.
- Verify persistence works:
- Create a file in your home directory, reboot, and confirm the file remains.
- Install a small application to test write persistence if your setup supports it.
- Optional: Enable full disk encryption or a dedicated encrypted volume for sensitive data:
- Use LUKS or a built in encryption tool when the installer prompts, or after boot via a live session run a separate encryption setup tool.
Persisted live USB is great for portability, but you should keep backups of important data and plan for occasional re-creation if the host system changes or if you update the ISO.
Approach B: Frugal or Full USB Install
- Download the Amarok Linux ISO.
- Write the ISO to USB using a reliable tool. Some users prefer a full install on USB where the drive acts like a regular installed OS.
- Boot the USB and go through the normal installation wizard, selecting the USB drive as the target for installation.
- Choose whether to install a separate home partition on the USB or to store it in the root partition. A separate home partition helps to keep user data isolated.
- After installation, boot into Amarok Linux from USB on any compatible device.
- Manage updates in a controlled manner. A full install may require occasional manual steps if hardware differs between host machines.
A full USB install can provide a smoother experience on devices with hardware quirks, but it uses more of the USB drive capacity and can be less forgiving when moving between very different hardware.
Security and Privacy Considerations
Portability does not mean you give up security. If you plan to carry a portable Amarok Linux system, consider these best practices.
- Encrypt sensitive data: Use LUKS to encrypt the data partition, especially if you carry a USB containing client information or personal files.
- Use strong passwords and passphrases: Protect your user account and any encrypted volumes with long passphrases.
- Enable a firewall: A simple firewall such as ufw on Amarok Linux can block unsolicited inbound connections.
- Keep the portable OS updated: When connected to a trusted network, install security and system updates regularly. If you boot on machines with unstable network access, you can perform updates later when you have a stable connection.
- Disable auto login: Require a password to unlock the session after boot.
- Consider VPN for public networks: A built in VPN option can shield your traffic on public or shared computers.
- Clean up after sessions: When you finish using a public machine, ensure that you do not leave sensitive data in the guest area. Eject the USB safely and wipe any temporary caches if needed.
If you are building a portable workspace with Amarok Linux for privacy or security, you may also want to explore a separate encrypted data container on the USB or an encrypted home directory to separate personal data from installed apps.
Hardware Compatibility and Booting Across Devices
One of the biggest questions with portable OS setups is how well they travel across different hardware. Here are practical tips.
- BIOS vs UEFI: Some older machines rely on BIOS, while newer devices use UEFI. If you encounter boot issues, check the firmware settings and enable legacy boot if required by the portable tool you used.
- Graphics and drivers: On certain laptops, you might experience graphics issues during first boot. If this happens, try a basic session or install a non free driver only if you must. You can also pass boot options like nomodeset as needed.
- Network adapters: USB wireless adapters may require different drivers. Most built in NICs work out of the box, but if you rely on a USB adapter for Wi Fi, bring a compatible one and test on a few machines.
- Peripheral compatibility: A portable system will likely be used with different keyboards, mice, and displays. Amarok Linux’s setup wizard usually helps configure locale and input devices, but you may need to adjust screen resolution and keyboard layout on some devices.
Pro tip: If you anticipate using many different machines, keep a small USB device with a fallback configuration or a separate ISO for troubleshooting. Ventoy can help by letting you select an alternate ISO when a machine refuses to boot a particular image.
Raspberry Pi and ARM Options
Amarok Linux is not limited to x86 laptops and desktops. If you are a Pi enthusiast or want a compact portable environment, you can run Amarok Linux on Raspberry Pi boards.
- Raspberry Pi image: Look for a dedicated Amarok Linux image built for ARM. Install it to a micro SD card or a fast USB boot drive compatible with the Pi.
- Performance considerations: Raspberry Pi devices are energy efficient but have different CPU architectures. A small but practical setup uses a 32 GB or 64 GB micro SD card or a USB SSD for better performance.
- Peripherals: Ensure your Pi image includes drivers for your USB devices, HDMI display, keyboard, and network adapters. You may need to enable specific features in the Raspberry Pi firmware for best results.
- Use cases: Portable Amarok Linux on Raspberry Pi works well for demos, lab environments, media centers, and compact development setups.
Whether you are using a laptop or a Raspberry Pi, the portable Amarok Linux approach remains about consistent workflows, secure access, and flexible hardware compatibility.
Maintenance and Updates on a Portable System
A portable OS should stay current with security patches and feature improvements without sacrificing portability.
- Update strategy: Schedule updates when you have reliable network access. If you use a persistence layer, updates will be saved automatically. If you are using a full installed USB, updates install as they would on a standard install.
- Space management: Keep an eye on persistence size. If you are running out of space, you can resize the persistence file or partition, or relocate data to a separate encrypted container.
- Backups: Periodically back up essential data from the portable drive to a secondary location. Backups protect you if the USB drive fails or becomes corrupted.
- Re-creating the live USB: If you notice performance degradation or after major version updates, re creating the live USB with persistence can be a quick refresh.
- Data hygiene: When you are done with a device, safely eject the USB and physically secure it if it contains sensitive information.
Real World Use Cases and Scenarios
- Classroom labs: Students can boot Amarok Linux on any school PC, keeping assignments on a portable drive without affecting the host OS.
- Field work: A portable setup lets researchers or technicians carry tools and scripts in a single drive and boot on client machines.
- Tech rescue and repair: A ready to go environment with disk partitioning tools and data recovery utilities can save time during repairs.
- Content creation on the go: Video editors and writers can carry transcripts, templates, and project files in a portable workspace for quick retrieval on different machines.
- Privacy focused work: A portable OS with encryption and a configured firewall can provide a safer browsing and work environment on shared devices.
If you rely on tools for transcripts or video edits, you can include them in the portable setup. For example, you can pre install transcript tools and video editing helper scripts so that your portable Amarok Linux environment is ready for media projects on any machine.
Best Practices for Data Management and Backups
- Separate data from the OS: Keep user data and work projects on a separate encrypted container or partition. This makes backups easier and reduces wear on the OS partition.
- Frequent backups: Regularly back up important files to another medium, such as another USB drive or a cloud storage option when connected securely.
- Versioning: Enable versioning for critical documents if your toolchain supports it. This helps you recover previous iterations.
- Data hygiene on shared machines: When using a portable OS in a public or shared environment, avoid saving personal credentials in plaintext. Use a password manager and log out when finished.
- Rolling updates: For portable environments, test updates in a controlled setting before running on the main USB to avoid unexpected compatibility issues on different hardware.
Troubleshooting Common Issues
- USB not booting on a machine: Recheck BIOS/UEFI settings, disable secure boot if necessary, and try a different USB port. If using a persistent live USB, ensure the persistence file or partition is correctly configured.
- Sluggish performance: Use an external SSD for the portable drive, or adjust kernel boot parameters to optimize hardware compatibility.
- Keyboard or locale problems: Run the initial setup again to reconfigure the keyboard and locale, or manually adjust settings after first boot.
- Wi Fi not connecting: Ensure the correct drivers are installed in the live environment. For ARM Raspberry Pi setups, verify that the network adapter is recognized by the image.
- Data not persisting: Confirm that you selected persistence during creation and that the persistence area is not full. Resize persistence or move data to an encrypted container on the USB.
Conclusion and Next Steps
Turning Amarok Linux into a portable operating system opens up many possibilities. You gain a flexible, private, and consistent environment that travels with you from device to device. Whether you are studying, working on a project in a coffee shop, or performing field work, a portable Amarok Linux setup can streamline your workflow. By choosing the right medium, using persistence and encryption wisely, and understanding hardware differences, you can minimize friction and maximize productivity.
To stay inspired and informed, explore more on Amarok Linux and related topics you will find on amaroklinux.org. Here are a few suggested reads and activities:
- How to optimize Amarok Linux for performance on older hardware
- A beginner friendly guide to Linux file permissions and security
- Latest updates in Raspberry Pi support for Amarok Linux
- Transcript tools and workflow integration for video editing
- A quick primer on Unix timestamps and how they help organize media projects
If you would like more personalized help, feel free to reach out in the comments or our support section. We love hearing about your portable OS adventures and the clever ways you deploy Amarok Linux on USB sticks, SD cards, or Raspberry Pi boards.
Appendix: Quick Reference Checklist
- Decide between Live USB with persistence or USB install
- Choose a fast, reliable USB drive or external SSD
- Download the latest Amarok Linux ISO from amaroklinux.org
- Pick a USB creation tool that matches your needs
- Enable encryption for sensitive data if required
- Test boot on a few machines to confirm compatibility
- Set up persistence and verify data retention after reboot
- Update regularly and back up important files
- Explore ARM options for Raspberry Pi if relevant
By following these steps, you will have a robust portable Amarok Linux setup that is easy to carry, simple to boot, and flexible enough to serve a wide range of tasks. Remember, portability is not just about moving code from one host to another; it is about preserving your workflow, your privacy, and your potential no matter where you are.